As Vulnerability and Patch management engineer I have used many tools to investigate and remediate vulnerabilities that have been identified on systems in the Environment. Tenable has vulnerability Scanner called Nessus that have many features that assists Cybersecurity Engineers identify vulnerabilities so they can be remediated in timely manner.
In this blog I would discuss about how I setup Nessus Scanner on my home lab to demonstrate some of the features that makes it one of the best tools to discover and investigate vulnerabilities and to audit patch management systems from different vendors.
Tenable offers different Licensing Plans based on needs and whether or not the Server is on premise or in the cloud.
In most production environments you would either find tenable.io which is cloud based solution or tenable.sc which is on premise.
I would be using Nessus Professional Trial version which doesn’t have a lot of the features the tenable.io or tenable.sc has but the Nessus Scanner with unlimited no of Assets to Scan. You can also use the Nessus essentials which is free download but you can only scan 16 IPs and that would suffice for this purpose.
All you have to do is sign up using an e-mail and you would be sent a link to download the software and activation link one the software installed. It supports both Linux and Windows versions.
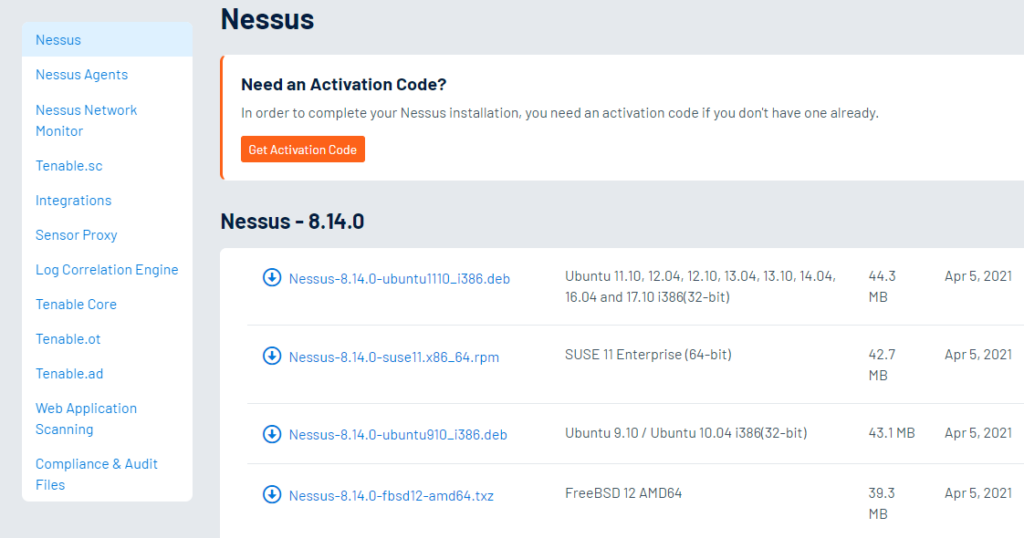
Once you have downloaded and installed the software you would be re-directed to local webserver on the machine that you installed the software.
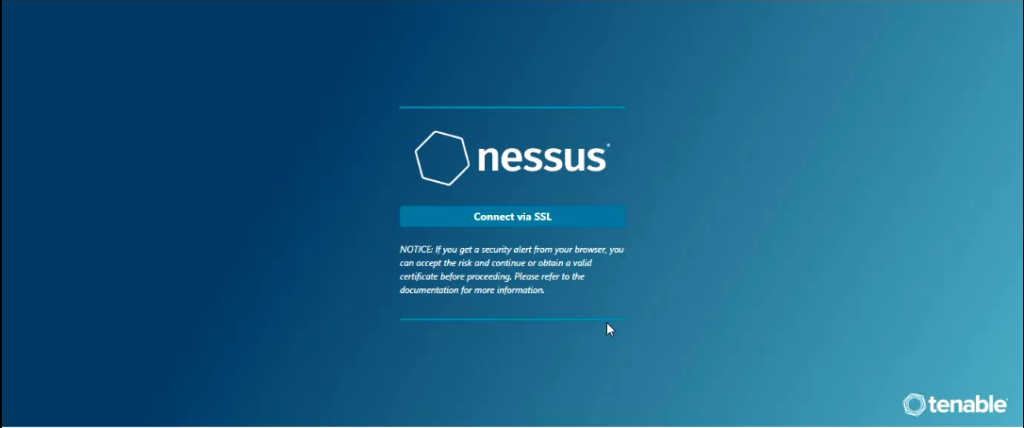
Once you click on connect via SSL it would start to initialize and you would get to screen where you would be asked to select the product type that you have license for.

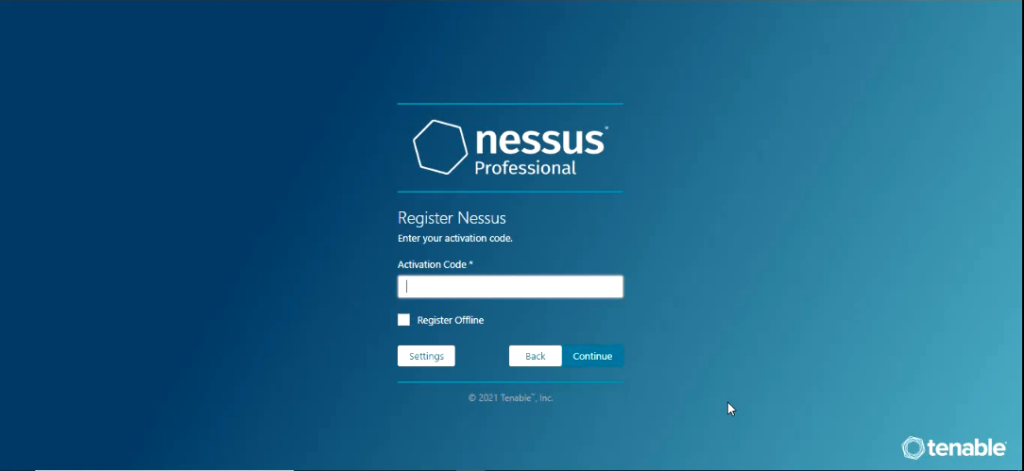
Select the product and click continue and you would be asked to enter the activation code and click continue.
On the next screen you would be asked to setup username and password.
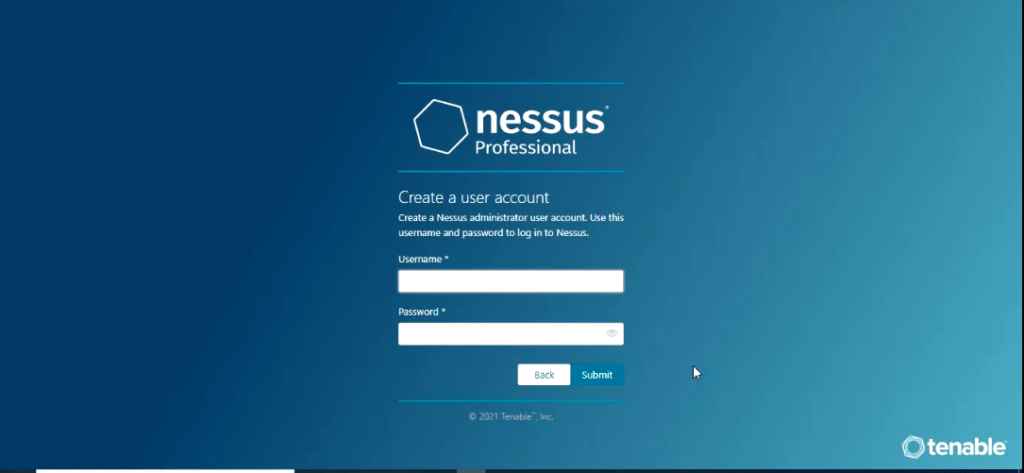
once you enter username and password and click submit which starts the process of installing the Nessus plugins.
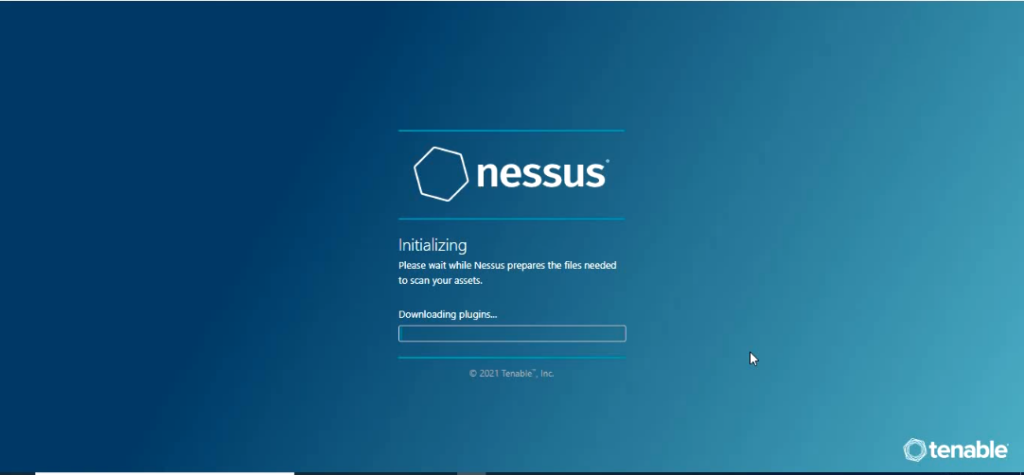
Now Nessus Plugins are Programs designed by Tenable Research to detect vulnerabilities and the programs are written in Nessus Attack Scripting Language(NASL).
If you learn NASL language you can actually create your own plugin.
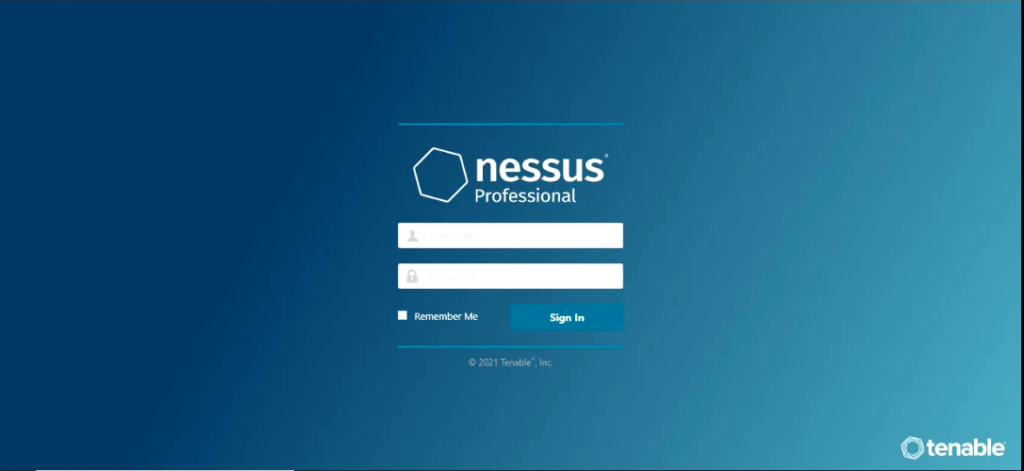
The installation creates local webserver on port 8834.
https://localhost:8834/#/
Once it is done you would be prompted with a Sign In screen.
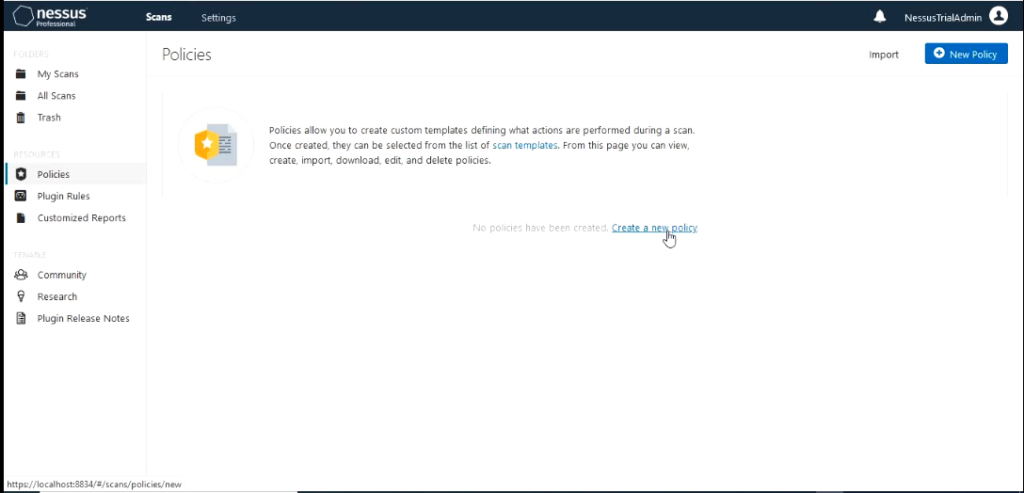
When you sign in the Tabs that you see depends on the license Plan that you have. The free version which tenable essentials would only give you an option to create a Policy and create Scan. I am using the tenable Professional which does give more options like number of IP addresses you can scan and option to include Compliance in your scan policy.
The first thing we are going to do is create a Policy.
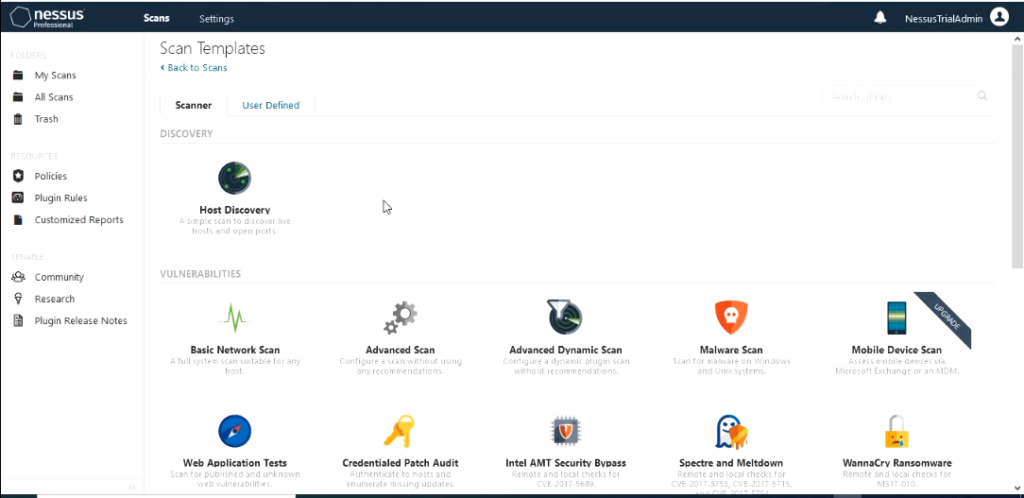
Nessus different scan templates.
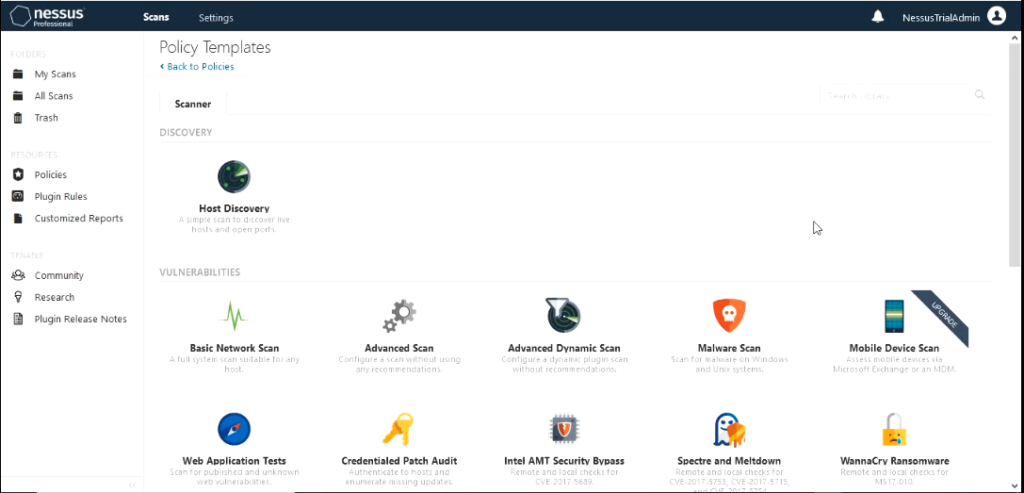
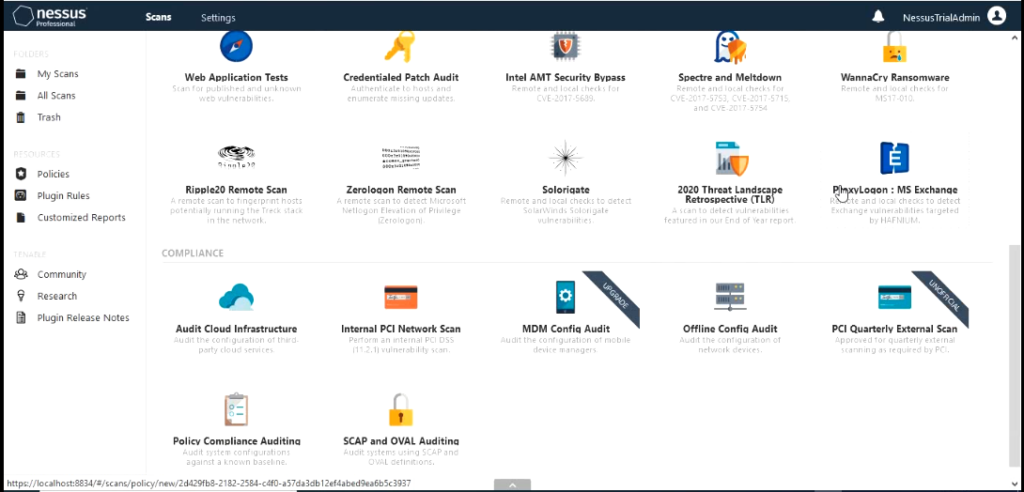
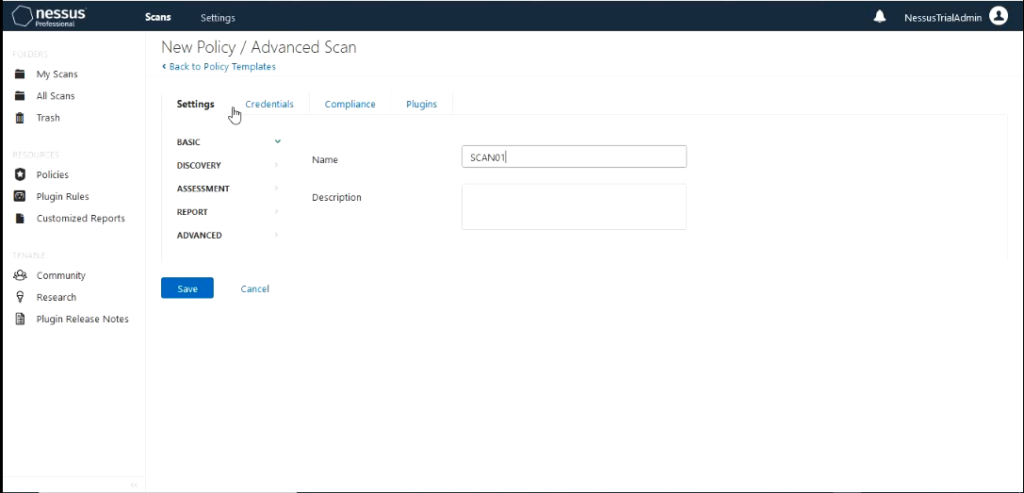
For this demo I would use the “Advanced Scan” policy template. If you are using tenable essentials you would not have the tab Compliance. We wouldn’t need that today for this demo. Give the Advanced scan a name like “SCAN01”
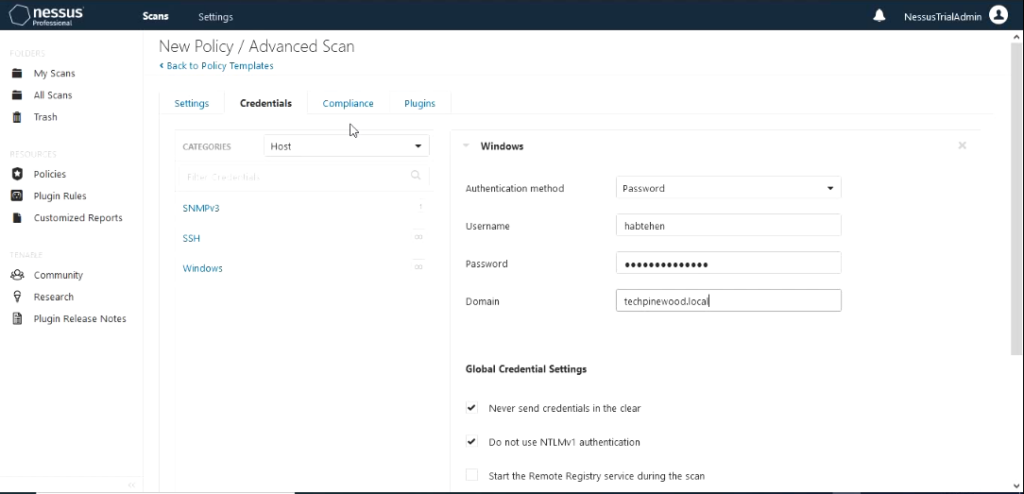
Click on the tab “Credentials” and supply the credentials needed to complete authenticated scan. Click on windows on the left and fill out the username, password and domain.
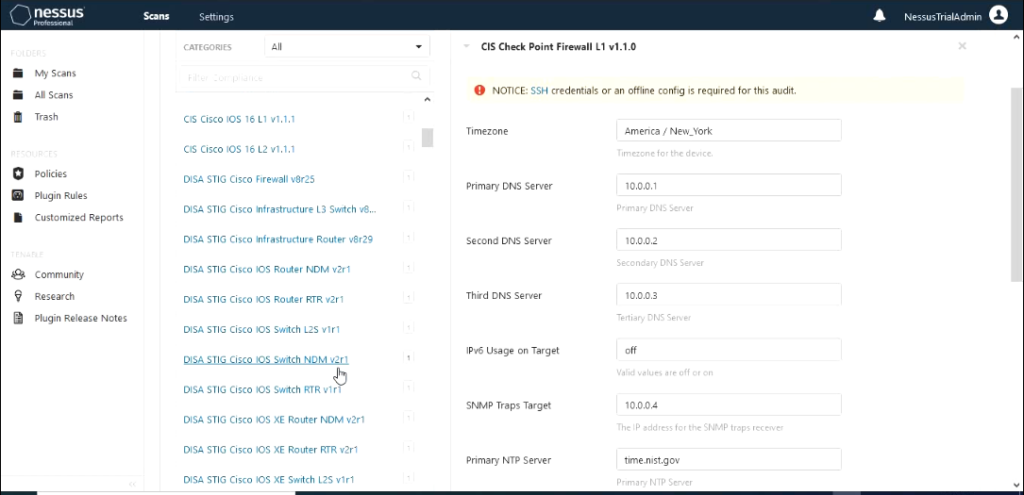
Compliance tab contains different categories that you can use to check compliance during the scan operation. We would not use this option for this scan so I would leave this option empty which is the default.
The last tab which is plugins is the most important one. This depends on what kind of vulnerability scan that you would like to run.
The left side shows the family of the plugin and right side shows the plugin that are contained in the family.
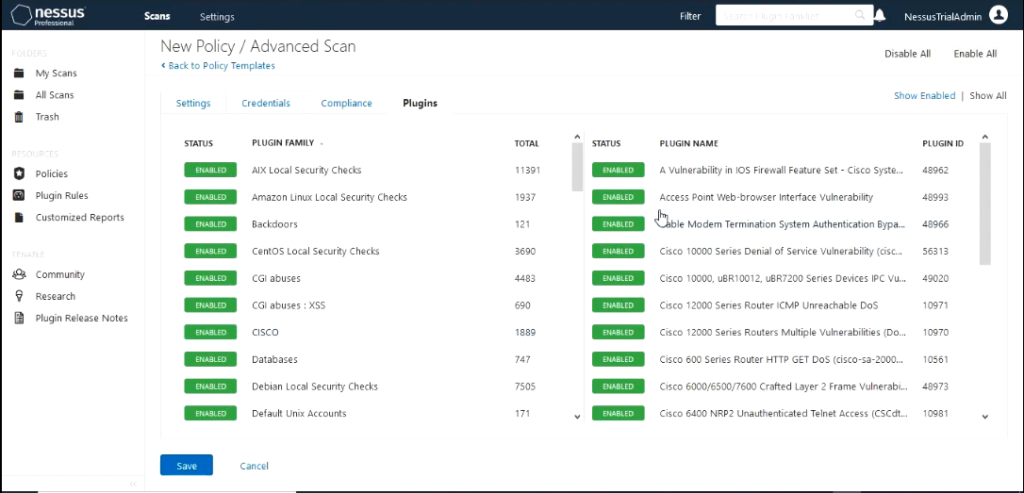
Enabled Plugin means the scan would include a check to see if that vulnerability exists on the system being scanned. You can disable any plugin by clicking on it.
For this scan I would leave the plugins that are enabled by default enabled and configure the policy.
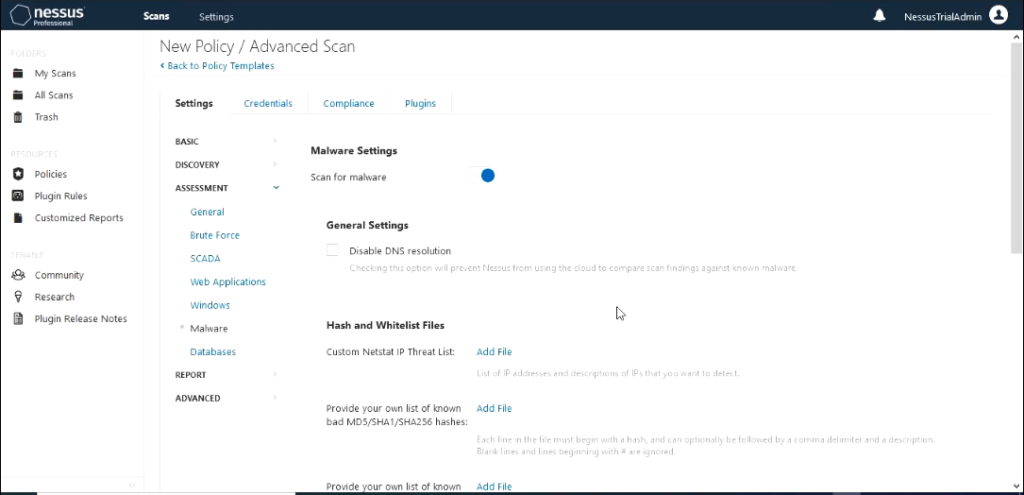
In settings under Assessment select malware and turn on scan for malware to see how this tool can detect malware as well as unmitigated vulnerabilities. The rest of the settings I would leave on default.
Last step in Policy creation would be to save the settings that you configured. You should see the new Policy that you configured show up in the policy section.

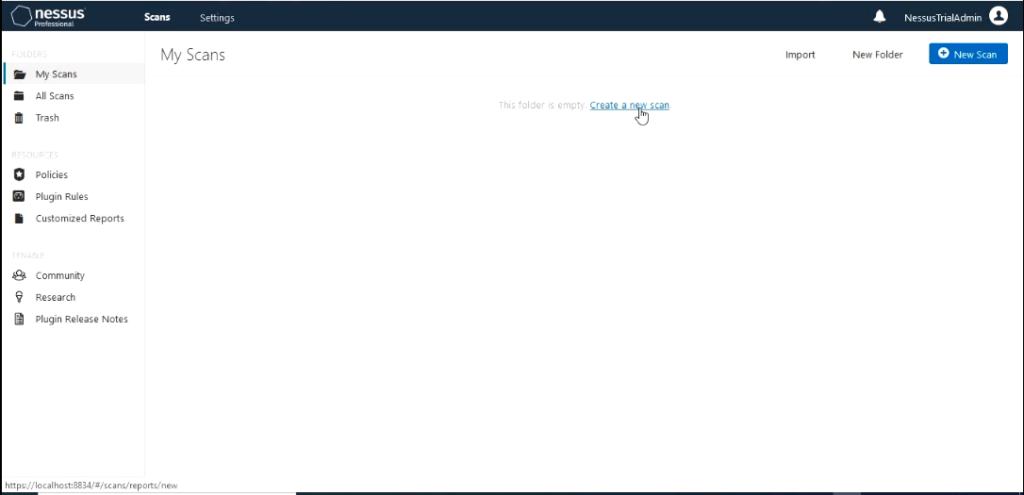
Next create a scan by clicking on the tab “my scans” and click create a new scan.
It would take you back to screen that shows the scan templates.
You should also see section called user defined. Click on “User Defined”. You should see the policy template that you created.
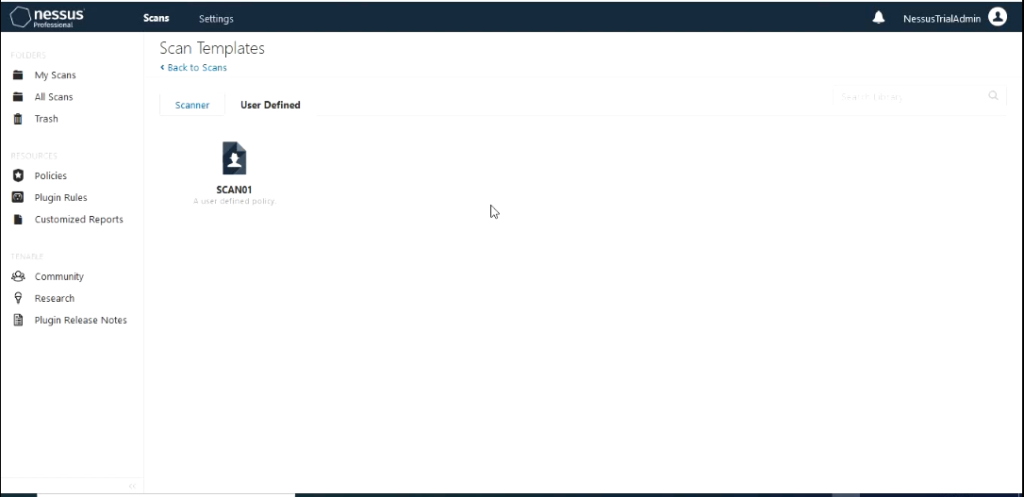
Select the template. It would populate the scan name with the policy name but you can change it if you like.
You should also see section called user defined. Click on “User Defined”. You should see the policy template that you created.
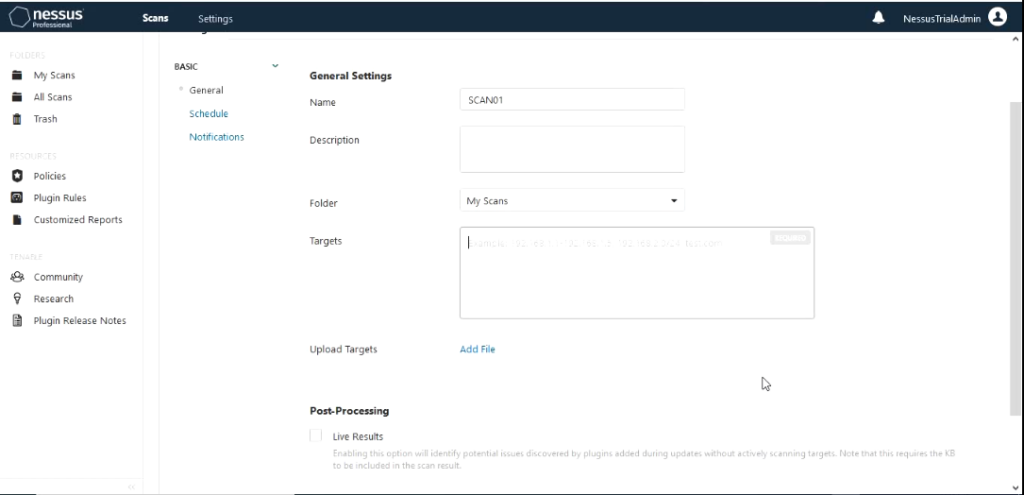
The only section that we need to fill out is the Targets section which is the most important. You can fill this out either in
range like 172.16.4.1-172.16.4.254 or individual IP addresses separated by space or using the slash notation 172.16.4.0/24. It also gives you an option to upload a file that contains the IP addresses in the format listed above. For this demo I would use the range method.
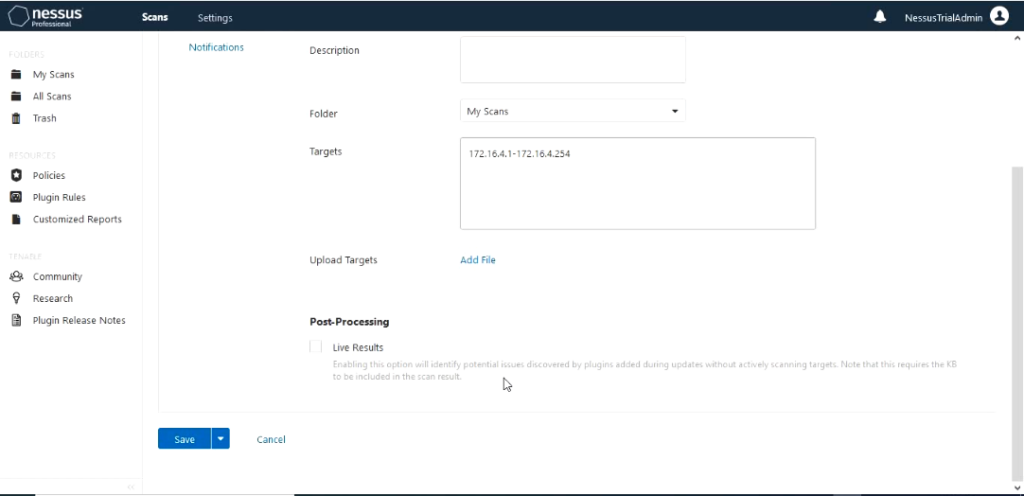
The scan has an option to setup Schedule for the scan and notifications. These is common method that is used in production environment since you would like to schedule the scan to run when the network usage is low like at night or during weekends.
Notification can be also be setup for the scan. In this demo I would be manually starting the scan so I don’t need to setup schedule. I would leave those settings at default. Next we would save the scan. This would create the scan.
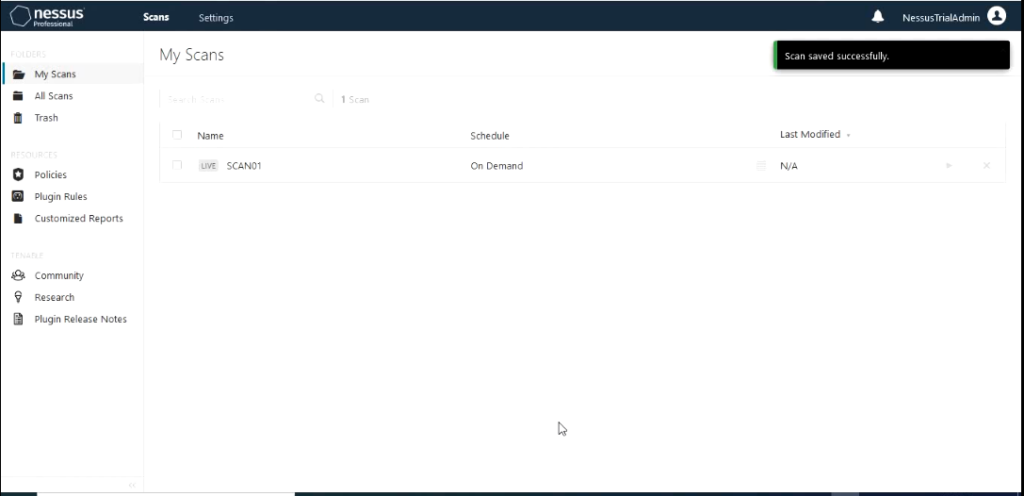
To start the scan click on the play button the scan to launch it.
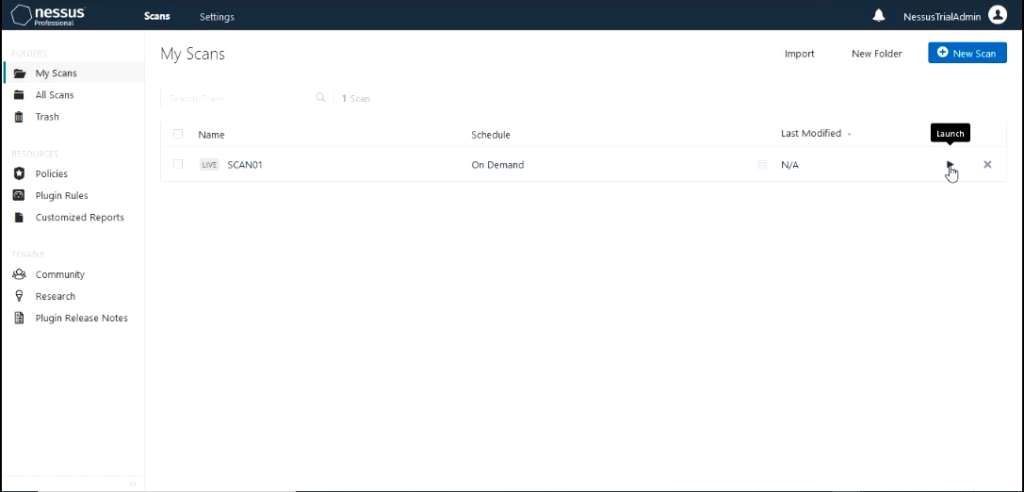
When it starts running we can click on it to see the status on the scan.

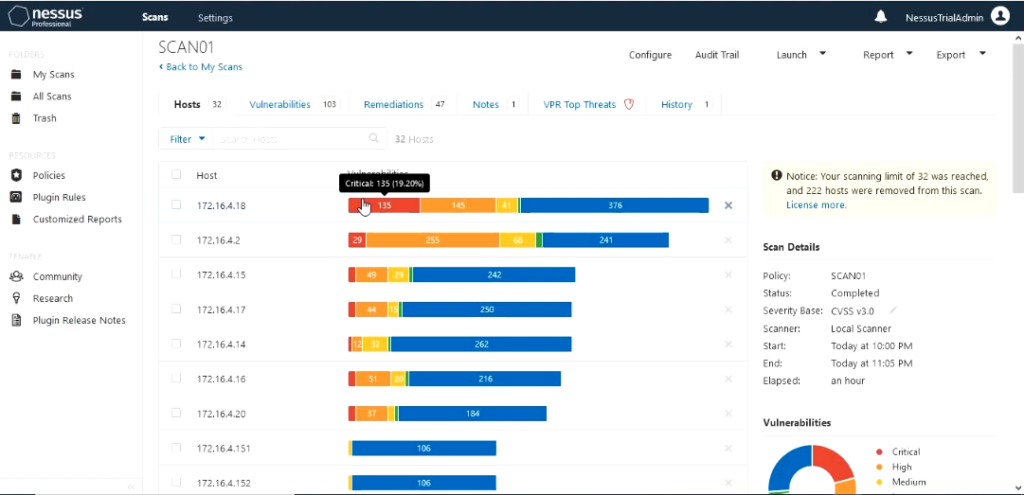
It would show how far the scan has completed and the hosts it is scanning and the hosts it has completed scanning. You would also be able to see the results of the scan come up with different severity that has been discovered.
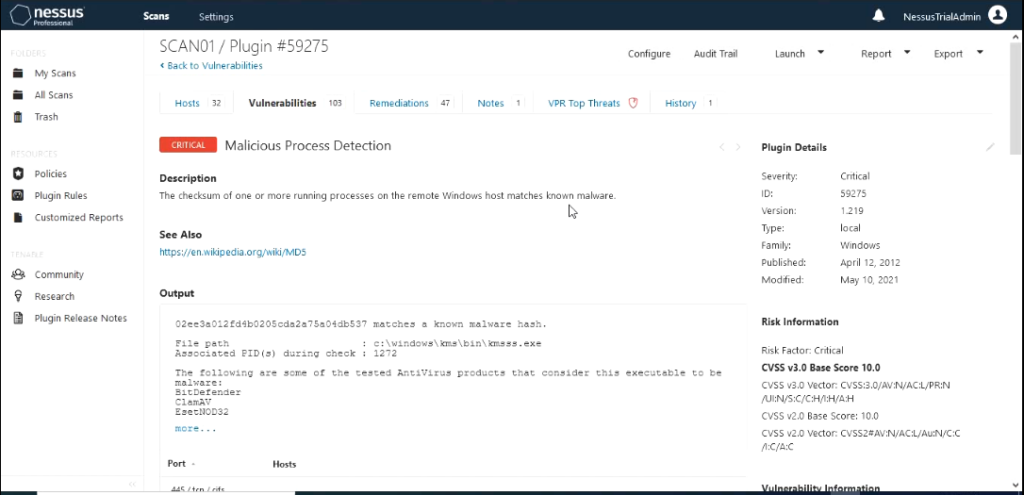
Vulnerabilities are grouped using severity as Critical, Hight, Medium, Low and info. The vulnerability is shown below as Malicious process detected.
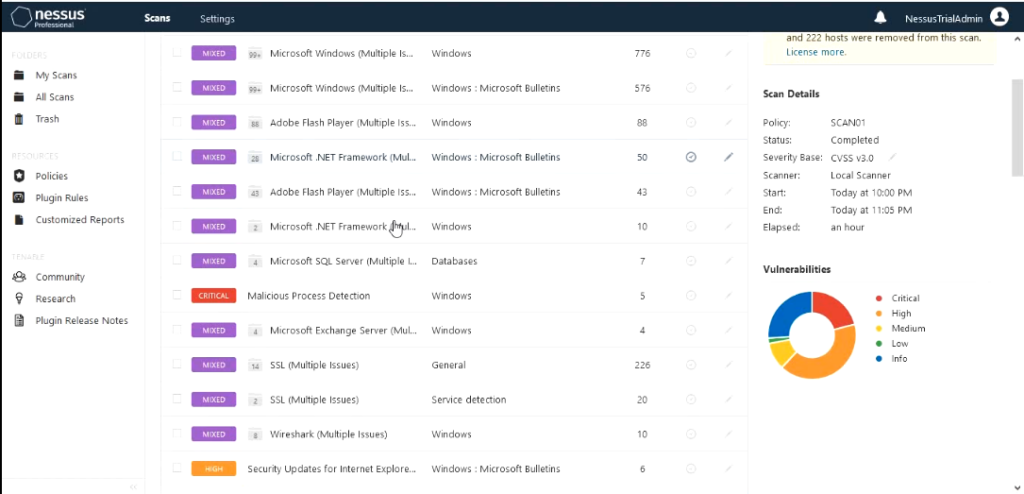
In this lab environments one of the servers I have introduced a program that is commonly detected as malware just to see how detailed information that Nessus would provide . The program is KMS and used to activate windows license.
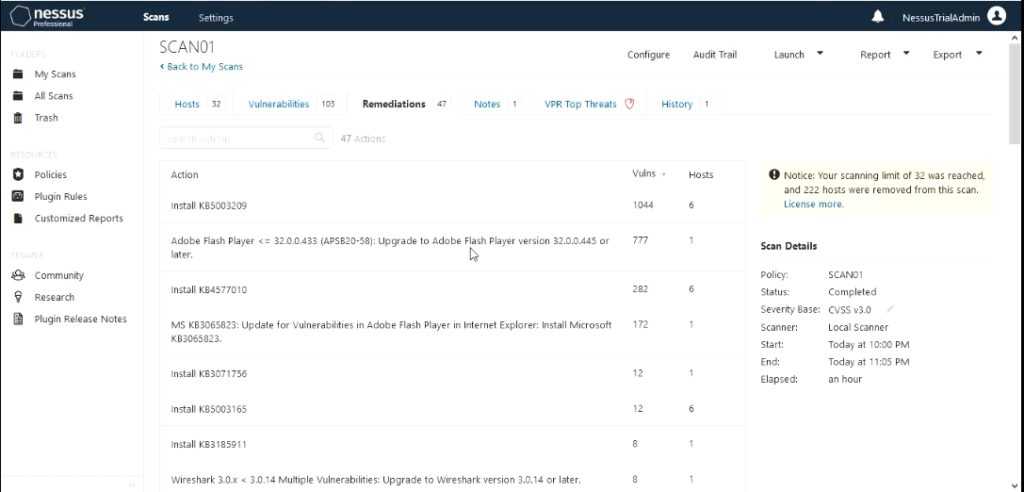
The scan results output shows hosts scanned with IP address, vulnerabilities with severity associated with it , Remediation actions that should be taken and VPR Top Threats.
VPR is Tenable’s patented vulnerability Priority Rating(VPR) and what makes this different from Common Vulnerability Scoring System (CVSS) scores is based on Predictive Prioritization. In short VPR is based on the criteria that how practical it is for this vulnerability to be used by an attacker.
VPR levels: low (VPR 0-3.9), medium (VPR 4.0-6.9), high (VPR 7.0-8.9) and critical (VPR 9.0 – 10)
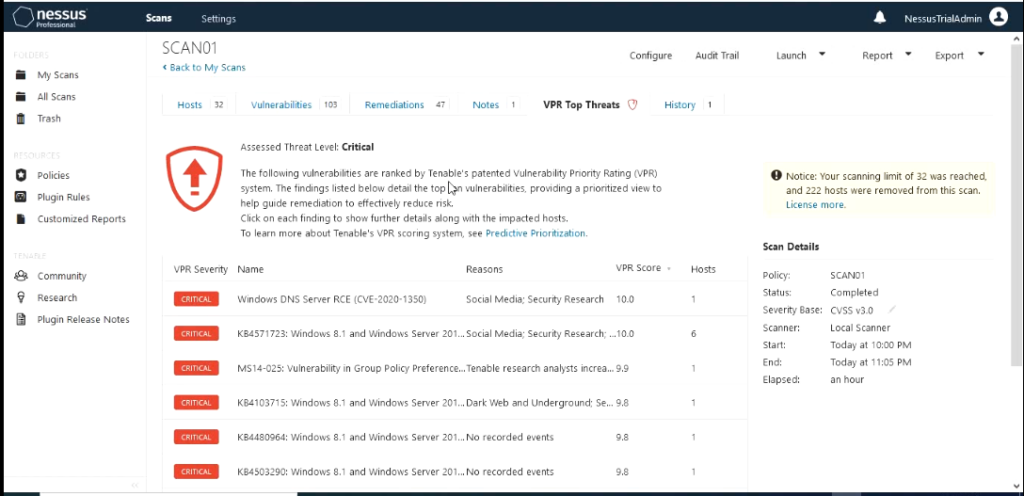
Most of the VMS that I used in these lab hasn’t been patched at all so it is no surprise that I have found so many that have many that have VRP score in the range 9-10.
In addition to these features outlined on this blog Nessus.io and Nessus.sc offer features like integrating your patch Management system to Nessus to audit your patch management , template Dashboards , Asset Management and Reporting.
Nessus can integrate with the following patch management systems
Dell KACE K1000
IBM BigFix
Microsoft Endpoint Configuration Manager (MECM)
Windows Server Update Services (WSUS)
Red Hat Satellite Server
Symantec Altiris
What needs to be done to integrate them with Nessus ?
- Credentials have to be configured that have admin access to the patch management system in the credentials section of scan policy
- The plugins that have been designed for the patch management system have to be enabled on the scan policy.
IBM BigFix scanning uses five Tenable plugins:
- Patch Management: Tivoli Endpoint Manager Compute Info Initialization (Plugin ID 62559)
- Patch Management: Missing updates from Tivoli Endpoint Manager (Plugin ID 62560)
- Patch Management: IBM Tivoli Endpoint Manager Server Settings (Plugin ID 62558)
- Patch Management: Tivoli Endpoint Manager Report (Plugin ID 62561)
- Patch Management: Tivoli Endpoint Manager Get Installed Packages (Plugin ID 65703)
SCCM scanning is performed using four Tenable plugins.
- Patch Management: SCCM Server Settings (Plugin ID 57029)
- Patch Management: Missing updates from SCCM (Plugin ID 57030)
- Patch Management: SCCM Computer Info Initialization (Plugin ID 73636)
- Patch Management: SCCM Report (Plugin ID 58186)
WSUS scanning uses three Tenable.sc plugins:
- Patch Management: WSUS Server Settings (Plugin ID 57031)
- Patch Management: Missing updates from WSUS (Plugin ID 57032)
- Patch Management: WSUS Report (Plugin ID 58133)
Red Hat Satellite scanning uses five Tenable.sc plugins:
- Patch Management: Patch Schedule From Red Hat Satellite Server (Plugin ID 84236)
- Patch Management: Red Hat Satellite Server Get Installed Packages (Plugin ID 84235)
- Patch Management: Red Hat Satellite Server Get Managed Servers (Plugin ID 84234)
- Patch Management: Red Hat Satellite Server Get System Information (Plugin ID 84237)
- Patch Management: Red Hat Satellite Server Settings (Plugin ID 84238)
If the RHN Satellite server is version 6, it uses three additional Tenable.sc plugins:
- Patch Management: Red Hat Satellite Server Get Installed Packages (Plugin ID 84231)
- Patch Management: Red Hat Satellite 6 Settings (Plugin ID 84232)
- Patch Management: Red Hat Satellite 6 Report (Plugin ID 84233)
Symantec Altiris scanning uses four Tenable.sc plugins:
- symantec_altiris_get_computer_info.nbin (Plugin ID 78013)
- symantec_altiris_get_missing_updates.nbin (Plugin ID 78012)
- symantec_altiris_init_info.nbin (Plugin ID 78011)
- symantec_altiris_report.nbin (Plugin ID 78014)
In conclusion Nessus is one of the most valuable tools for security engineers and patch management engineers to discover any vulnerabilities that exist on all networking systems so they can be remediated in timely manner.